These days I’m spending my time exploring the manufacturing landscape of Shenzhen in preparation for HAXLR8R 2013, future hardware startups, and just to grow my skills in general.
Motor drivers have been an ongoing passion in my life for a number of years, and I have a new design I’ve been working on based on the venerable Pololu driver. I’m getting 50 prototypes made by a local pcb assembly shop and I want to make sure they deliver quality prototypes. To that end, I’ve designed a test fixture to verify each board.
This sort of test is called a functional test, because it tests the actual functioning of the board as if it were being used in its intended application. For a motor driver, that means driving a motor and verifying that it did that correctly.
Design Goals
Here are a few of my design goals with the fixture:
- Fully test each board in a simple and automated fashion.
- Make the test fixture easy to use and easy to understand.
- Document it so that others can learn from and expand on my work.
- Release it open source (BSD) so others can use it to make better things.
Designing a test fixture is much different from designing a board for mass production. With a test fixture, I’m really not worried about component cost, PCB size, component density, certification, or any of those other worries that go into making electronics on a large scale.
Instead, what I care about is building a nice, reliable board that allows me to ensure the board I’m testing is doing what I expect it to be doing. The very first step towards achieving that is the spec! Realistically, you should write your spec before you even design the board you’re going to test. Of course this rarely happens in the real world, and the spec often changes during development as you come to better understand the nature of the components and the board you’re designing.
Test Specifications
At a minimum, your spec should have a listing of testable requirements. In the world of software, this are basically your unit test requirements. In electronics, you have things like current draw, voltage levels, etc. You probably also have application specific requirements that may require specialized sensors. In my case, I want to test a motor driver so I’m using a rotary encoder to record the exact movement generated by the motor. My spec looks something like this:
- 1 rotation / Mode: full step / Direction: forward
- 1 rotation / Mode: full step / Direction: reverse
- 1 rotation / Mode: 1/2 step / Direction: forward
- 1 rotation / Mode: 1/2 step / Direction: reverse
- 1 rotation / Mode: 1/4 step / Direction: forward
- 1 rotation / Mode: 1/4 step / Direction: reverse
- 1 rotation / Mode: 1/16 step / Direction: forward
- 1 rotation / Mode: 1/16 step / Direction: reverse
Test Fixture Controller
At the highest level, your test fixture has 4 states: idle, testing, pass, and fail. I am using 3 LEDs to indicate each state: yellow = testing, green = pass, and red = fail. I also have a 16×2 character LCD to provide more detailed feedback on sub-test status.
In order to drive all this, you need some sort of brains. I naturally went with the trusty and venerable Arduino MEGA. I could have used the smaller Arduino, but I wanted something that had pins to spare should I need them. Cost isn’t a huge consideration when designing a test fixture, so I wasn’t worried about overkill. Doing this the easy and fast way was a major consideration.
With my spec in hand, I fired up Eagle and started designing. The core of the fixture is pretty simple: an Arduino MEGA, 3 LEDs, a button to start the test, and some mounting holes. These are the core of the test fixture, and if you’d like to make your own, the design files are up on Github for your modification pleasure.
Beyond the core functionality, I added the motor driver socket, motor connection header, and the encoder connection header. It really is a rather simple test fixture.
The Arduino software is very straight forward: execute each test, display the right information at the right time, and light up the right LEDS. It also outputs extra data to the serial port which I could theoretically collect if I was going to do this on a massive scale and wanted to aggregate test result data. The software is also up on Github if you’re interested in seeing how it works.
The End Result
Once the board was designed, I soldered up the first prototype. Obviously it didn’t completely work. 😉 One major flaw was not connecting the VCC and GND for the LCD backlight. A couple jumper wires later and it was working like a charm.
Once I got it working, my main goal was to have a smooth and fast test sequence. For me that means each board should finish testing in under 10 seconds. It also means that it should be clear and easy to use. I believe I achieved that quite well, and if you watch the video you can see the test fixture in operation.
Making it tidy
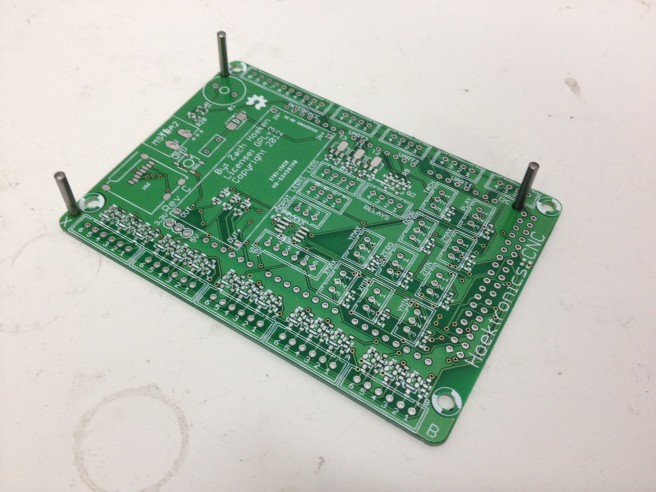
After building the test fixture, I realized it needed some sort of enclosure or structure. There are a couple ways to go about this. The first thing that crossed my mind was to use a custom laser-cut enclosure. It would look sweet and protect my new test fixture. However, I didn’t want to wait for my laser cutter supplier and I wanted something to keep it stable while I was working. Inspiration struck when I realized that I already had a very nice, digitally fabricated structure pre-made… the PCB itself!
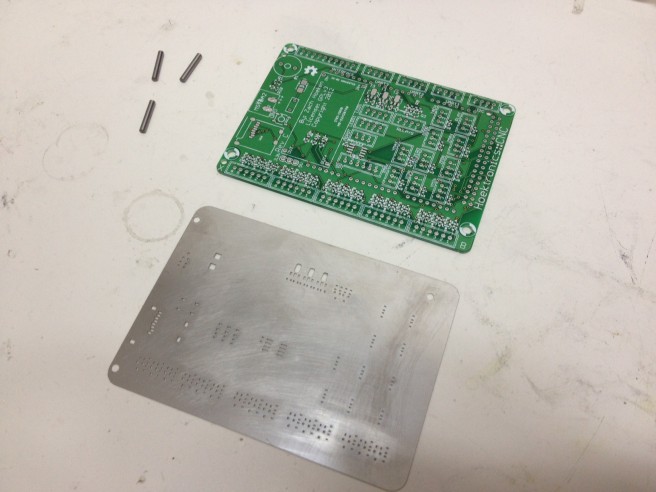
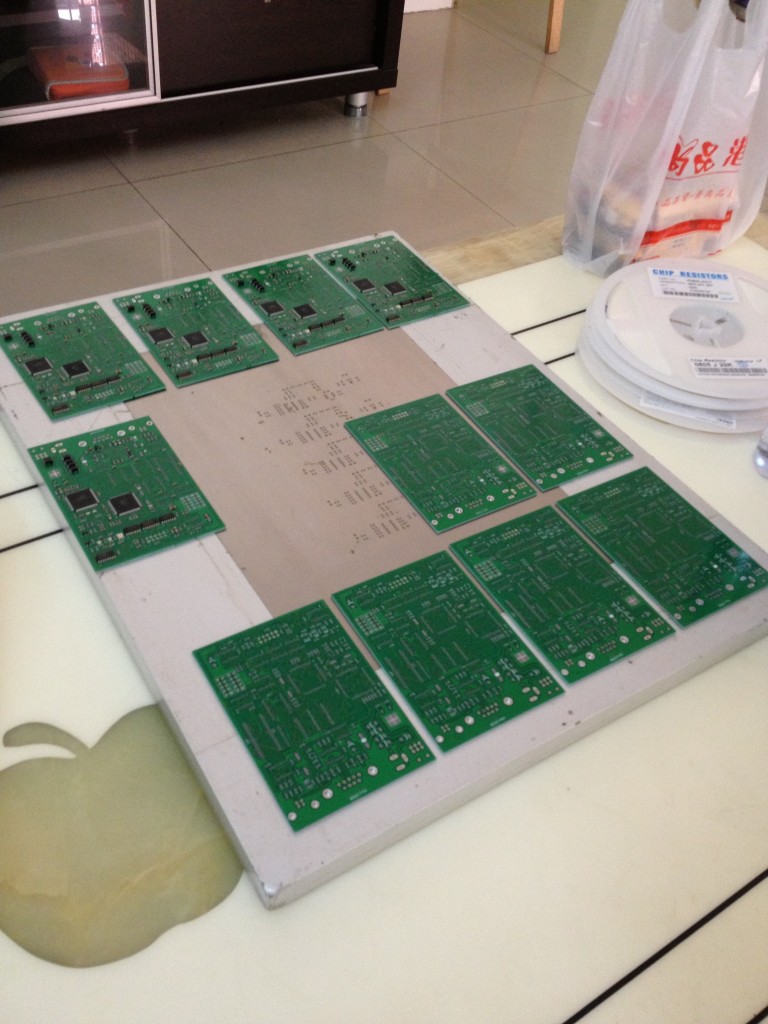
When you do a prototype run of a PCB, you typically get more than one. In this case, I got 12 PCBs even though I ordered the minimum number possible. I’m certainly not going to use all those PCBs, so I thought why not use them for the structure. Since the holes on the PCBs are exactly the same, all I had to do was add some standoffs between the PCBS and I had a nice, sturdy open-box frame that will probably stand up to moderate use.
Areas for improvement
All in all, I’m pretty happy with how this test fixture turned out. I used it to test my hand-made prototype boards, and it passed the working ones while failing the broken ones. I consider that in and of itself to be a success. However, this test fixture is very simple and there is lots of room for improvement! When I do a Rev B, here are some of the things I’d like to do:
- Add current measurement to the VCC and VMOTOR power supplies. I want to know how much current is being drawn at various points during operation. For example when the board first starts up, I would like to be able to detect a short and turn it off. I would likely use something like the ACS712 chip.
- Add relays to VCC and VMOTOR supplies. In combination with the current measurement chip, this would allow me to detect shorts. It would also build more safety into the device since plugging and unplugging the driver would happen with the power off.
- Add a digipot to change the VREF settings. Right now this functionality is not begin tested, and its a pretty critical part of the board design. With the current measurement stuff added in, it should be pretty straightforward to verify it too.
- Move the connectors to the bottom of the board to keep things tidy. I’d like all the wires to be on the inside of the test fixture if possible.
- Move the stepper driver socket to the middle of the board. Right now it is a bit tucked away in with the other components. It makes routing a bit trickier, but it would really make it easier to use for the operator.
- Move the 4th hole outside the Arduino. I made a mistake of putting one of the mounting holes over the Arduino. PCB space isn’t a huge premium, so I should have made the PCB bigger to accommodate it.
- Use blue LED for “testing” mode. Just because it will look cooler. Also, the 10mm LED footprints I used have bad pin spacing. Oops.
- I used through hole parts because I thought “Oh, I’m only doing 1 of these.” It turns out that makes things harder to source, especially since I really only have SMT components in my workshop. Thru-hole, not even once. =)
- The board itself has one major flaw: it is not polarized! This means the board could be inserted backwards and damaged. This is a design flaw with the original Pololu design, and I haven’t yet figured out a way to route around it and still maintain compatibility. I’m not sure how to modify the test fixture to prevent this either. This will be solved the good old fashioned way: good instructions, operator training, and paying attention.
Open Source Hardware
In case you didn’t notice while reading the article, this board and software is 100% open source, under the BSD license. You can get it on Github. You’re welcome to use it in your own projects, and the BSD license means you don’t need to contribute back. This means you should have no problems using it in a corporate environment where you might want to keep your test fixtures secret. Why release it that way? Well, because I’m cool like that. 🙂












Recent Comments