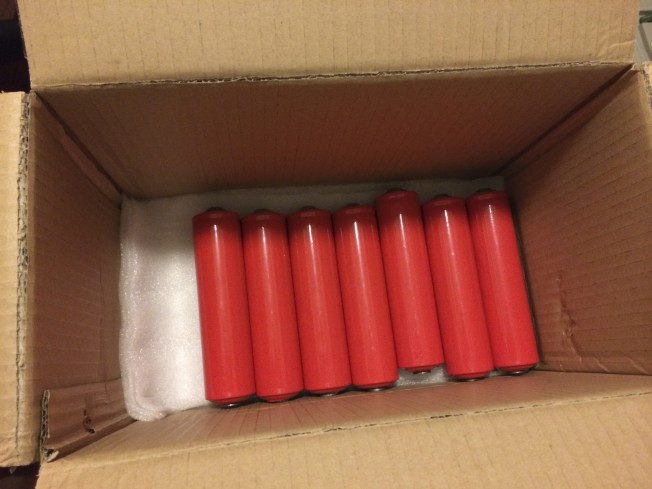
In the last post, I decided on the 15Ah LiFePo4 cylinders in the 40152 size. Since my bike is a 48v system, I needed an equivalent voltage for this. Looking around on Taobao and the net, it seems like 16 LiFePo4 batteries in series is the standard for 48v. I already had one of these batteries from testing, but I ordered 16 new ones anyway in case I got a dud. At first I was a bit disappointed because the batteries I got were not brand new – there was rust / cruft on some of the terminals.
Since I had my handy-dandy battery capacity tester, I took 4 of the worst batteries and tested them. They all measured out to an average of 14.5 Ah, which assuaged my concerns – these batteries were either lightly used or just sitting in storage for a couple years. For the price I got them, I can’t really complain and I decided to go forward with the build.
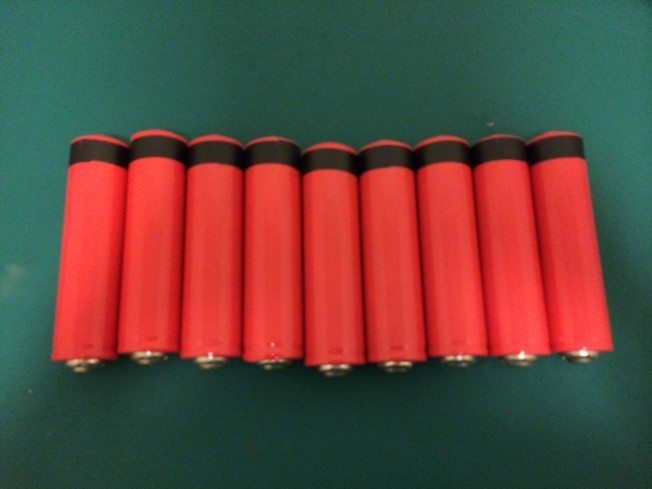
The first thing I did before assembly was to take some black electrical tape and use it to mark the negative terminals. You can tell the difference between negative and positive with a multimeter or by looking carefully, but I wanted to know which was with with a simple glance. This turned out to be a really good idea.
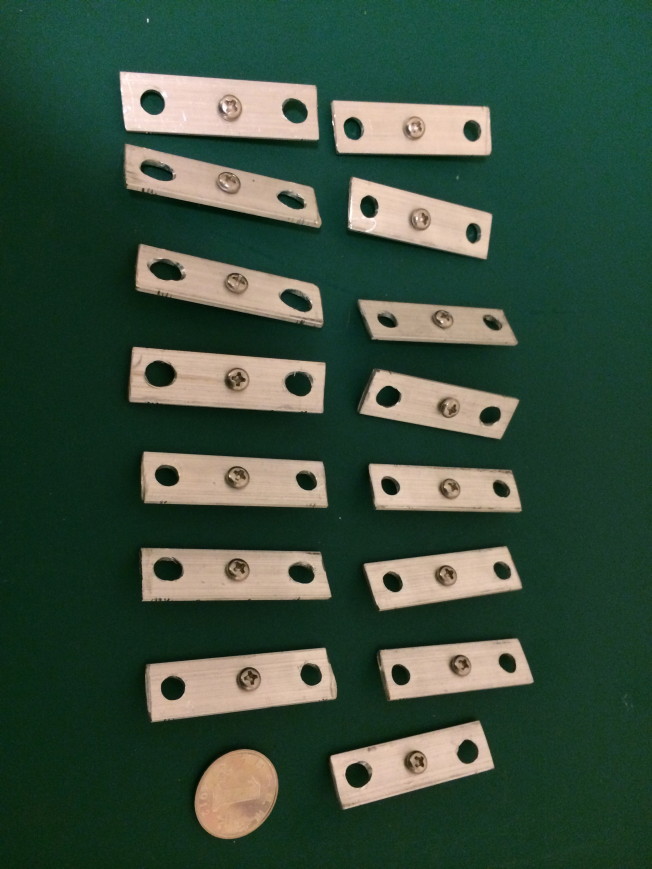
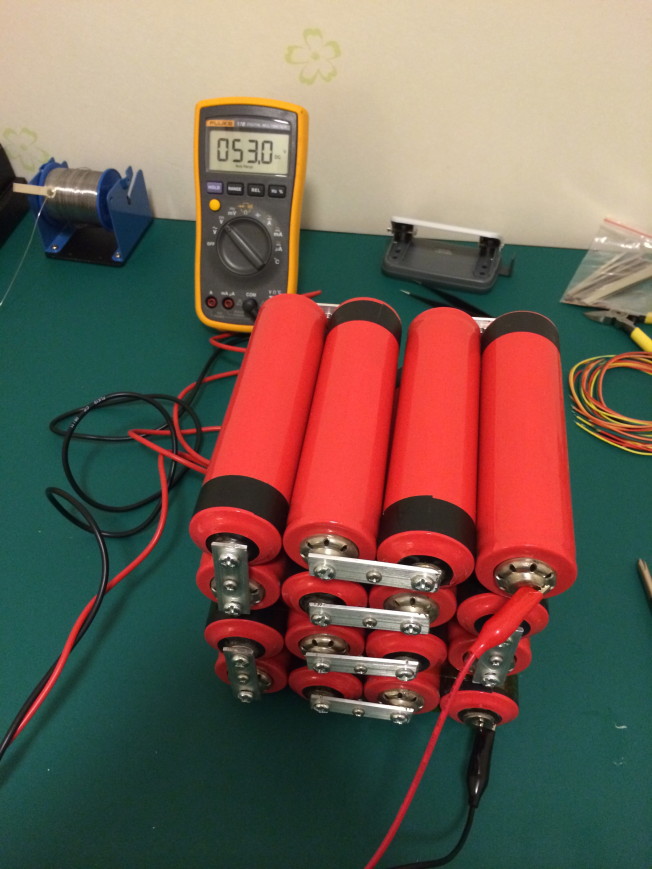
These particular batteries are really cool in that they have a built-in screw terminal on each battery. This makes constructing the pack really easy – all I had to do was make some connector pieces and then screw it all together like some sort of more dangerous version of Ikea furniture. I ordered some aluminum strip (2mm * 15mm) and cut them into 55mm long pieces. I drilled 2 6mm holes 40mm apart from each other and then a 3.5mm hole in the middle. The middle hole was tapped to M4 for the balancing cable.
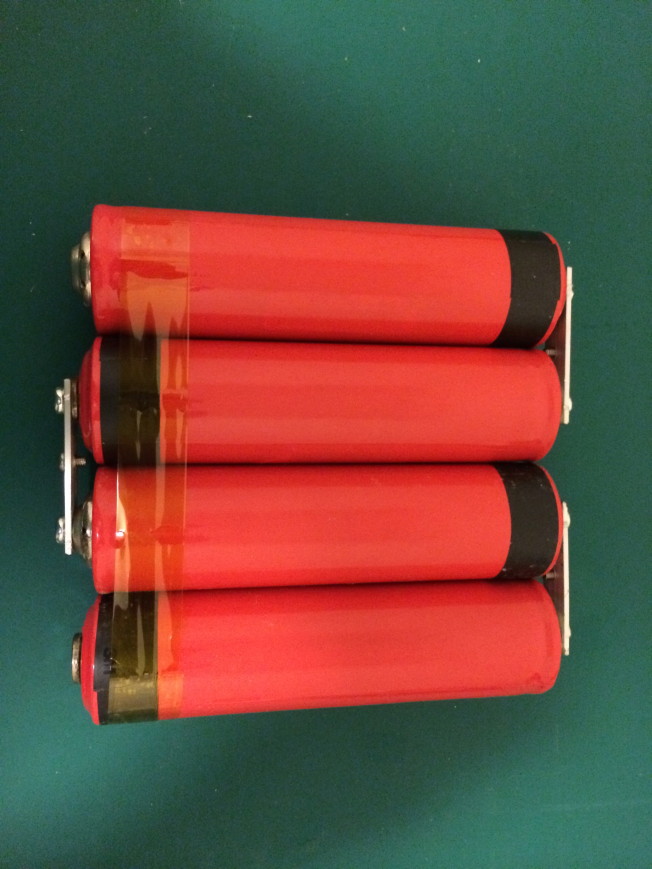
You can build the pack in a variety of configurations (2×8, 3×6, 4×4, etc) but I decided to go with 4×4 to make it easy to fix in the existing battery space. This also meant that the final terminals ended up on the same side of the pack. I found it was easiest to build one row at a time, then attach that to the previous rows to build it up layer by layer.
As I bolted each pack together, I made sure to use some thread locker on each of the bolts. This pack is going to be used in an electric bike, and I’m not exactly gentle with how I ride it. I did not want anything to vibrate loose during a drive and this will help ensure that the pack holds together.
After the pack was fully assembled, I measured the total voltage – at 53v it checks out, and so I taped the pack together so I could start adding the balancing cables.
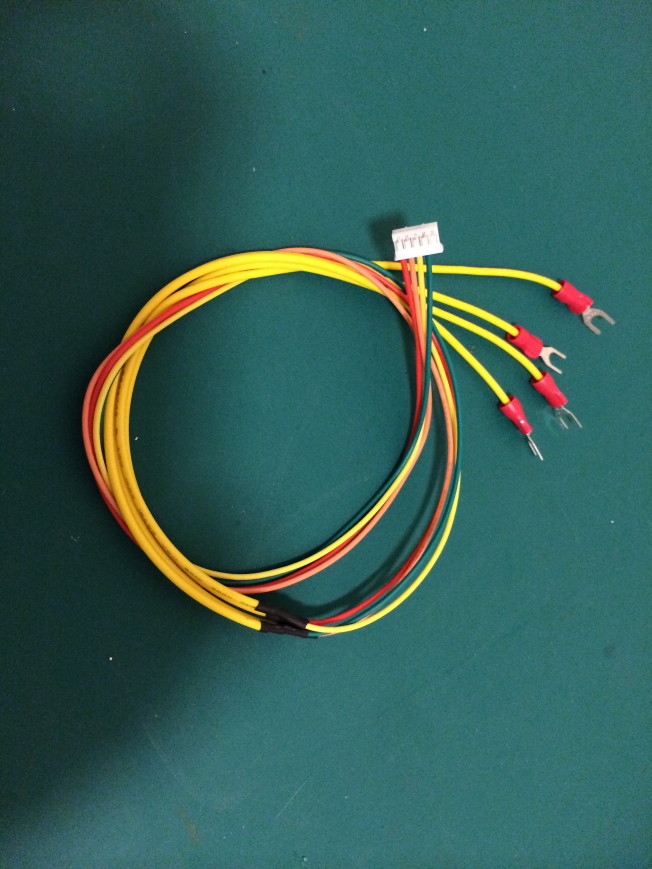
The protection board came with pigtails for the balancing cables, and I picked up some wires with screw-down connectors to attach them to the battery. My first step was to solder these together and use shrink tubing to protect the joint.
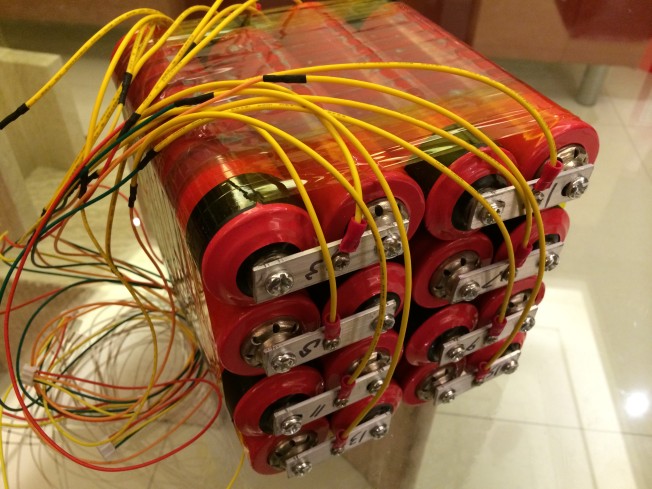
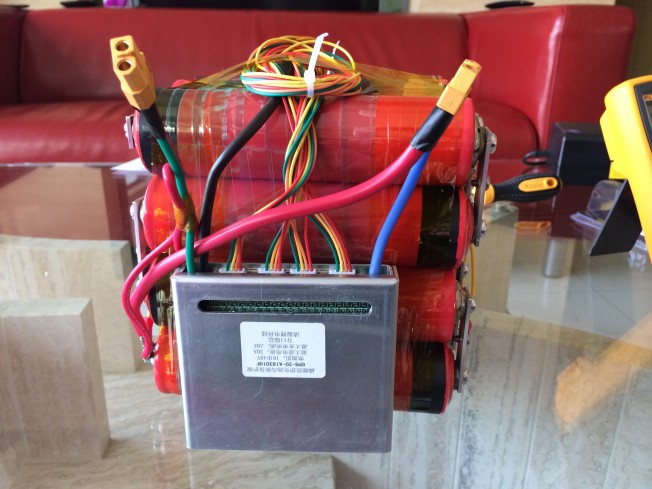
After that was done, I attached each of the balance cables to the appropriate spot on the battery. My method was to first measure and check each voltage, and then mark on the aluminum bus bar with a Sharpie which line it was. Then wiring up the connectors was as simple as looking for the right number and screwing it down. Again, I used Loctite on the screws to prevent anything from coming loose. The result was rather bomb-like but hopefully it acts less like a bomb and more like a battery. Once all the balance wires were in place, I checked each cable with a multimeter. Going in order, I confirmed that they were each roughly 3.3v apart.
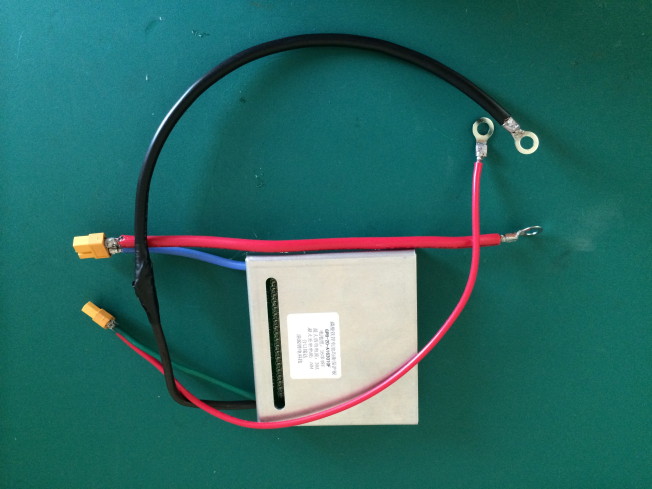
Next was preparing the protection board. The positive and negative terminals of the battery each had M6 screws, so I attached some M6 ring terminals to those leads. For the connection to charger and ebike power, I used some awesome XT60 connectors which can handle at least 60 amps – way more than I need, but they were cheap and polarized. The biggest challenge was the 8 gauge wire was a major pain in the ass to solder and I really had to crank up the temp on my iron to get it right.
Next I plugged in each of the balance cables to the protection board according to the instructions and then taped the board in place with a couple passes of tape. The next step was to charge up the battery and make sure it was all balanced.
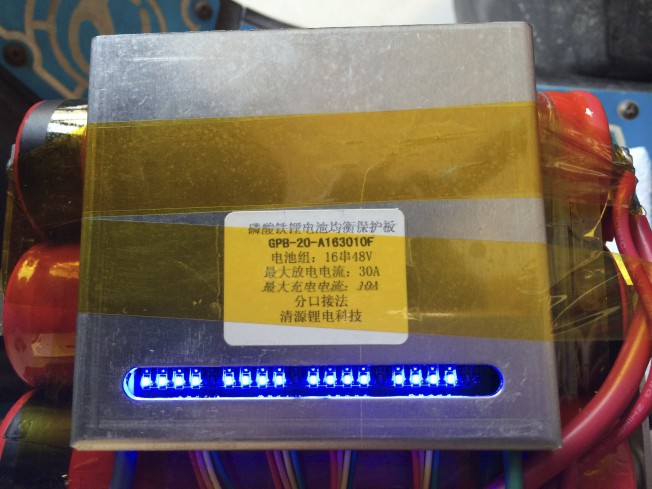
Unfortunately it was not balanced. If I was doing this again, I would probably do something like put all the cells in parallel first and then charge them fully. Instead, I had to individually balance the cells. I originally had thought the protection board would do this, and it probably would if you let it sit for eternity, but some of the cells were almost fully discharged. You see, the way the balancing works on this board is by slowly discharging the excess voltage through an LED until it drops below the predefined voltage. This is great if your cells are only off by a few hundred milliamps and you’re willing to wait a couple hours. Not so good if you have 10amp difference to make up.
My approach was pretty simple – charge up all batteries through the main charger until some of the lights came on, unplug the pack from the charger (important), and then individually charge each cell with a single-cell charger using alligator clips. After a few cycles of doing this, the whole pack was fully charged and all 16 balance lights were lit. Awww yeah!
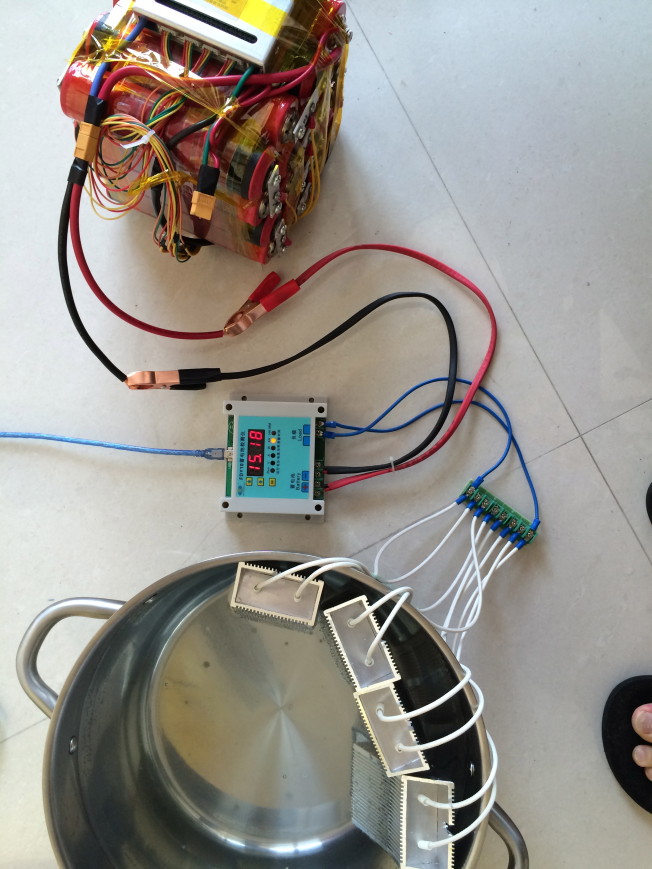
Next, I wanted to verify the capacity of the pack. I hooked it up to the battery capacity tester and set the amperage to 10A. After about 90 minutes the results were in: it tested out as 15.18Ah – slightly more than the advertised capacity of these batteries! I was quite pleased. You’ll note the power resistors were in a water bath – they were putting out a total of about 500 watts during testing and got quite hot – I even had to change to colder water about halfway through otherwise it might have started boiling. Will definitely need to get a better setup later as water + heaters isn’t exactly a brilliant idea.
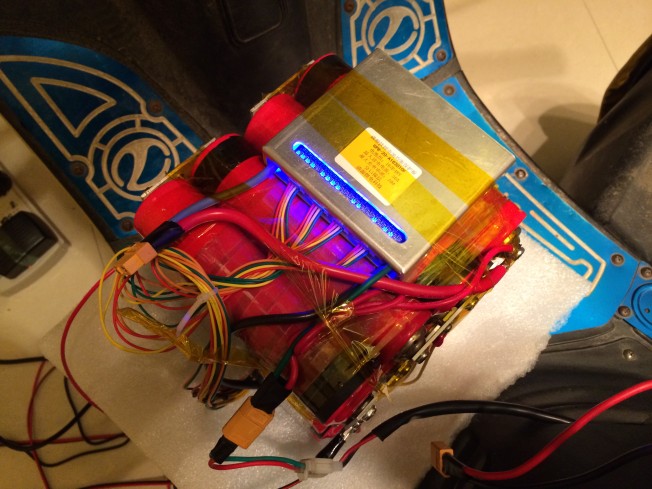
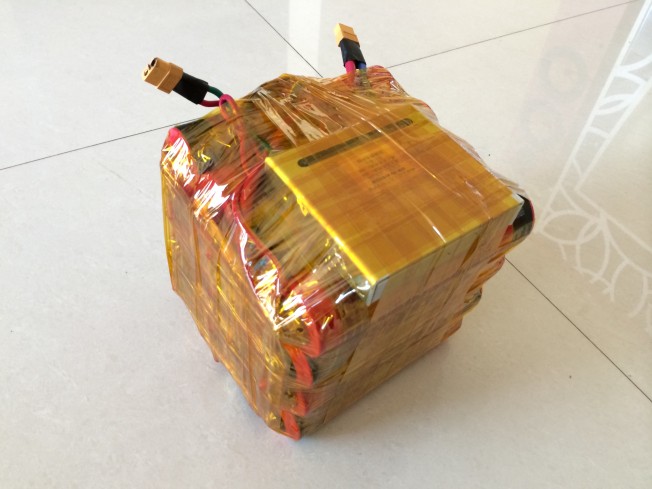
Once my pack was verified and good to go, I did the final layer of wrapping to prepare it for going into the bike. I was gluttonous and used an entire role of Kapton tape. Sometimes I just love living in Shenzhen where its about a buck a roll. I left air holes in case the batteries need to vent and left the cables out. Since the kapton is translucent, I was still able to see the balance indicators through the opening while protecting the electronics from dust and road particles.
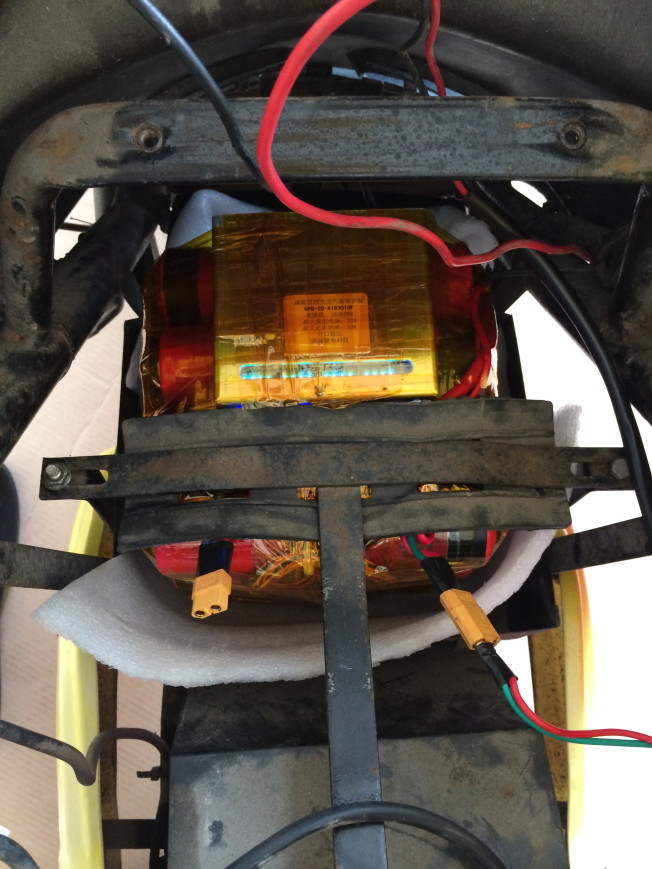
After that, I put the batteries in the bike and strapped it down using the old parts that held the SLA batteries in place. I took it out for a spin and while I don’t have hard data to back it up, it felt quicker than the old setup. I measured a top speed of 48kph and definitely like how it handles now. One major improvement is that the battery pack went from about 28kg in weight down to 8kg in weight. Dropping 20kg from the weight of the bike is a definite improvement and seems to make a difference.
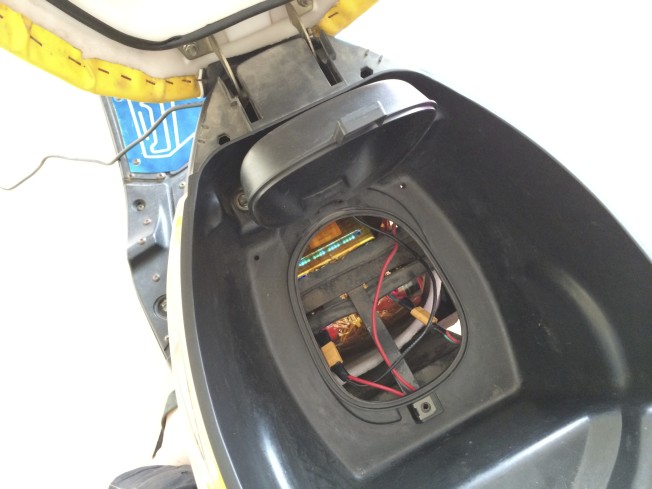
An awesome feature of the bike is that there is a little hatch from the cargo compartment to the battery compartment which means I can easily check the status of the battery after a charge – by looking to make sure all the LED balance lights are lit, I can know if all the cells are ready to go or not.
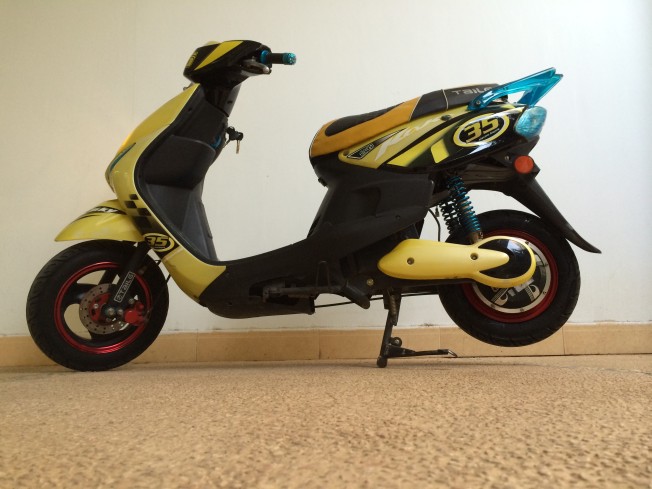
Here’s the finished bike. Of course no upgrade would be complete without washing it until it was sparkly clean and gorgeous again.

Recent Comments